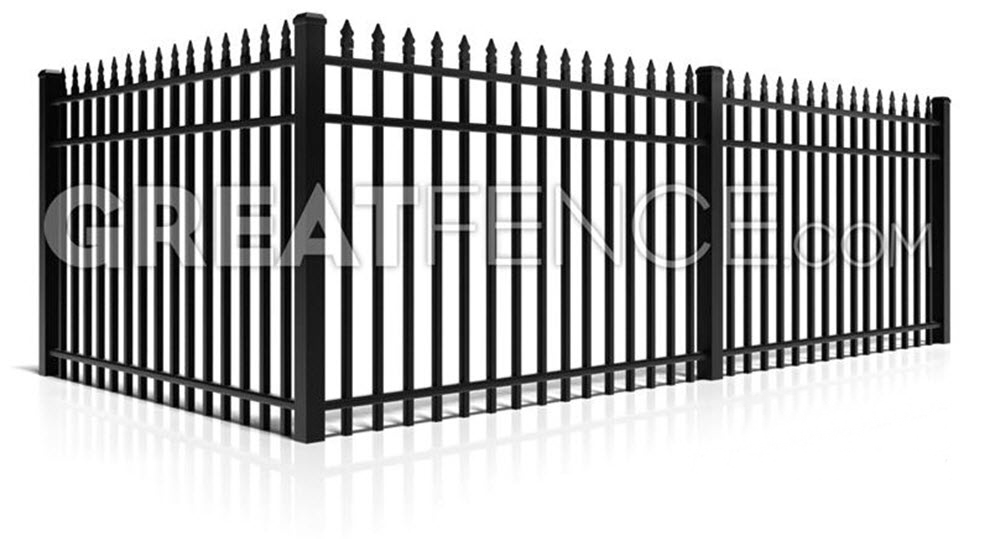
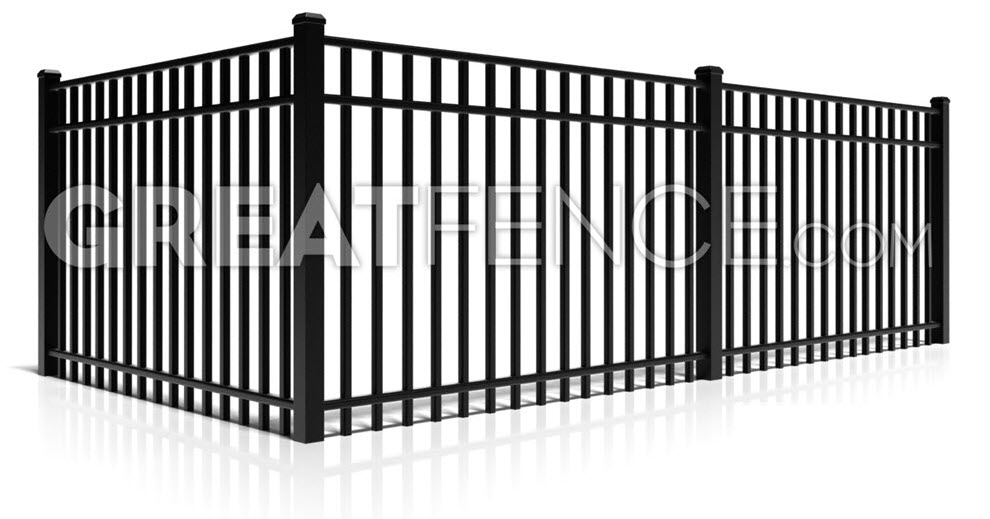
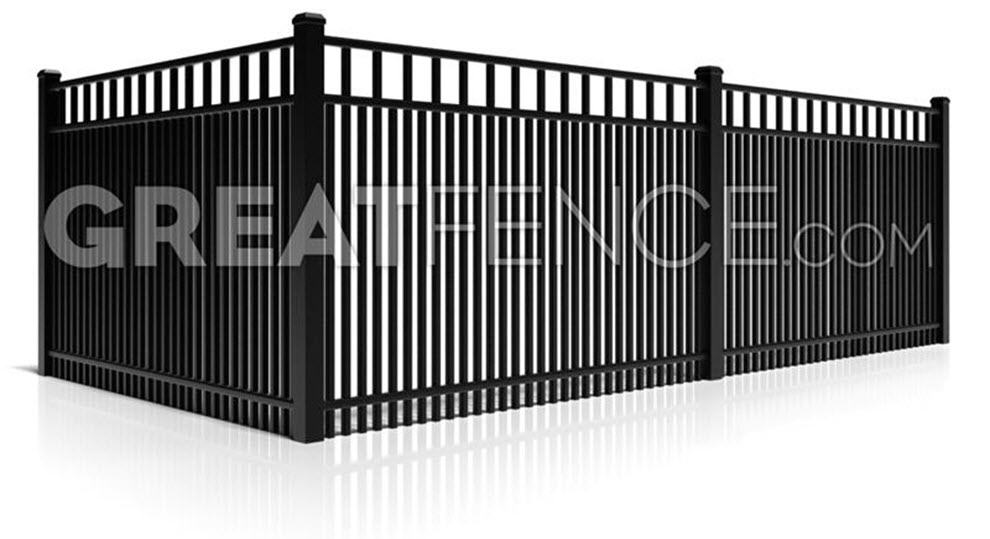
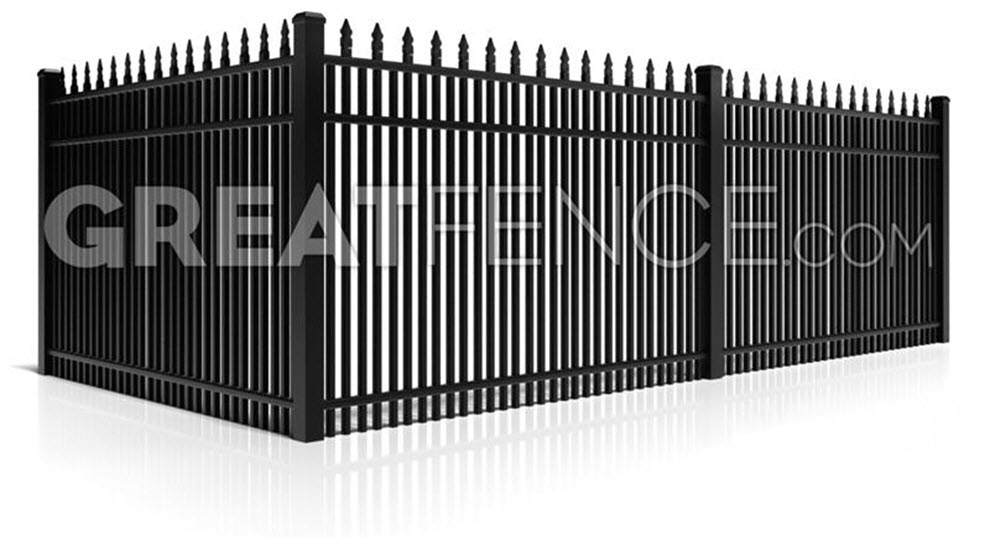
Residential Aluminum Fence Panels
Residential Aluminum Fencing
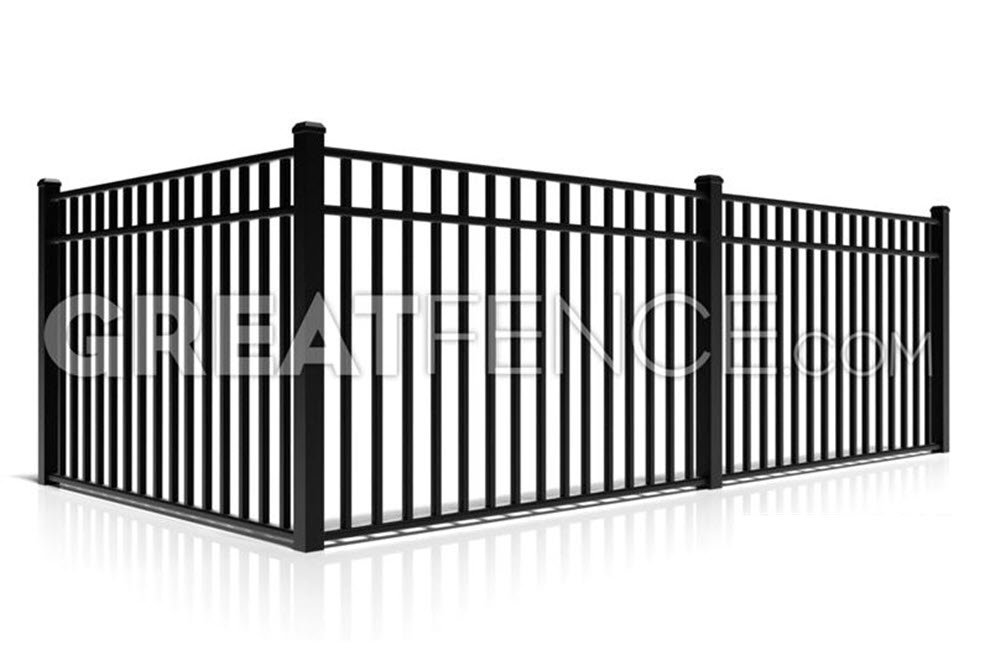
These residential metal privacy fences are typically used to mark property lines and keep out unwanted visitors from your property. They also restrict the outsiders’ view of the inside of a residential property. They can be trimmed to fit the area, so installation is more straightforward as well.
Other homeowners use residential grade aluminum fencing to enhance their yard or secure swimming pools. Not only is the residential grade of aluminum fences the cheapest in the market, its strength and versatility make it ideal for any surface or application.
What’s the difference?
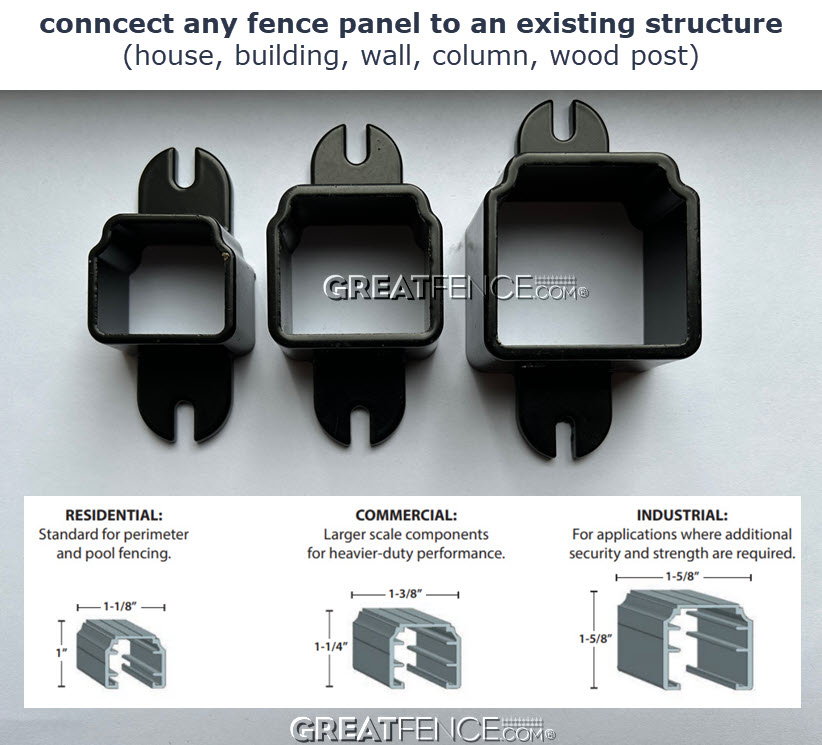
- Residential: These fences are specifically designed for home or light commercial use. They are lighter and more aesthetic.
- Commercial: These fences are made for larger pickets and rails. They are designed to improve security in higher traffic commercial establishments.
- Industrial: These industrial-grade barriers are our heaviest-duty products. They offer better security overall, perfect for industrial facilities.
Use our Fence Configurator to match the most suitable product for your home or business. Visit our Aluminum Fences page for more information.
Residential fence panels 6ft high automatically include an additional 4th rail.
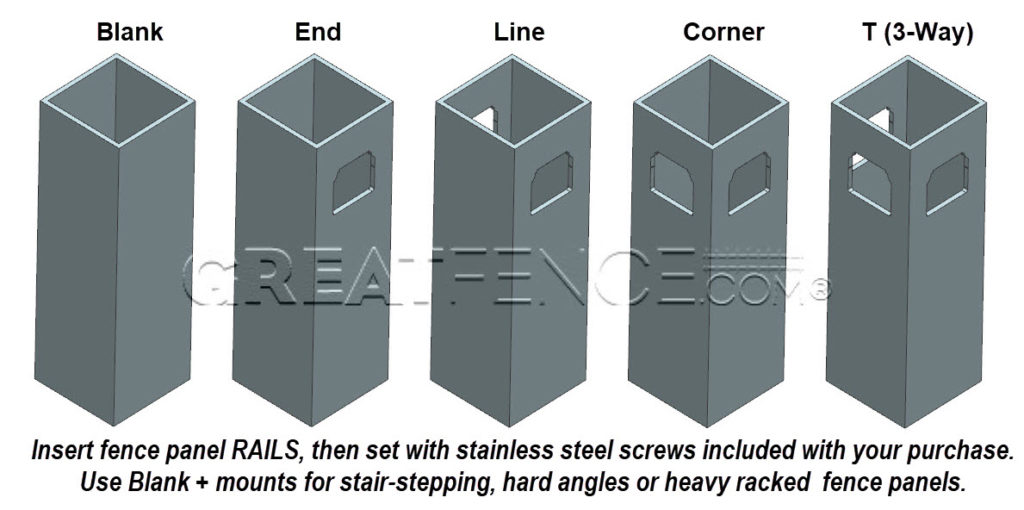
STAINLESS STEEL SCREWS are automatically included in your order based off of how many rail to post connections you have irrespective of whether you’re using punched posts OR Blank Posts + Mounts. These are also included regardless of the residential fence type you choose.
Get in touch with our team to get an accurate estimate of the residential aluminum fence price for your property.
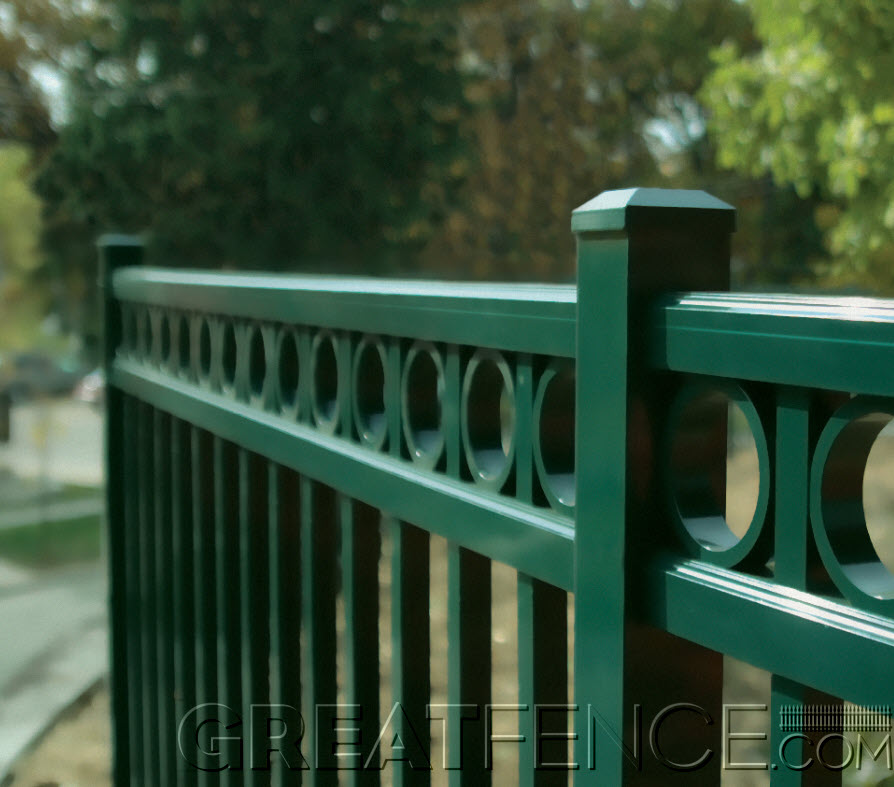
Designs For Every Need
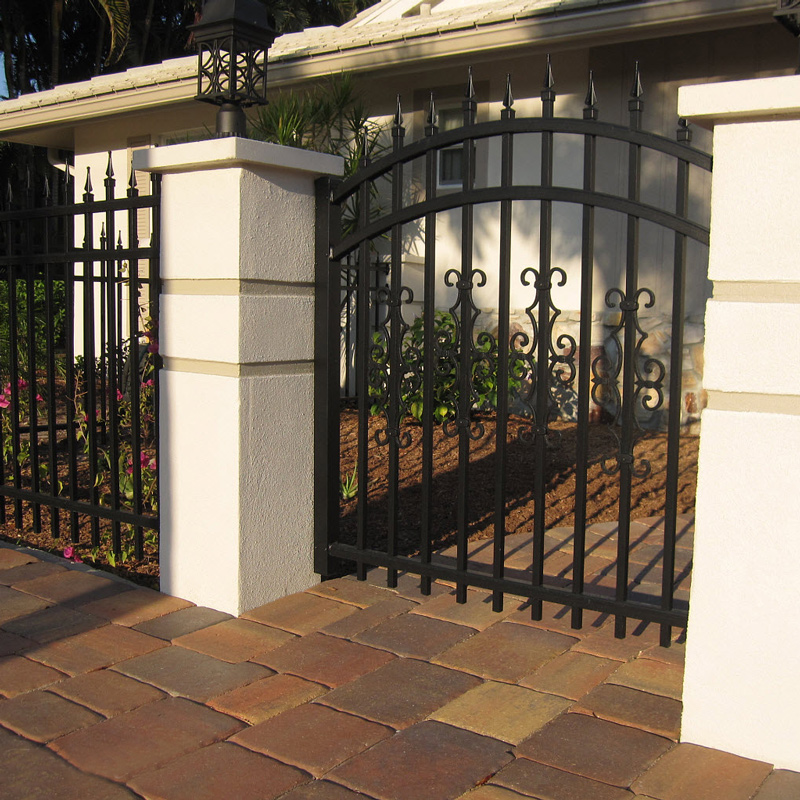
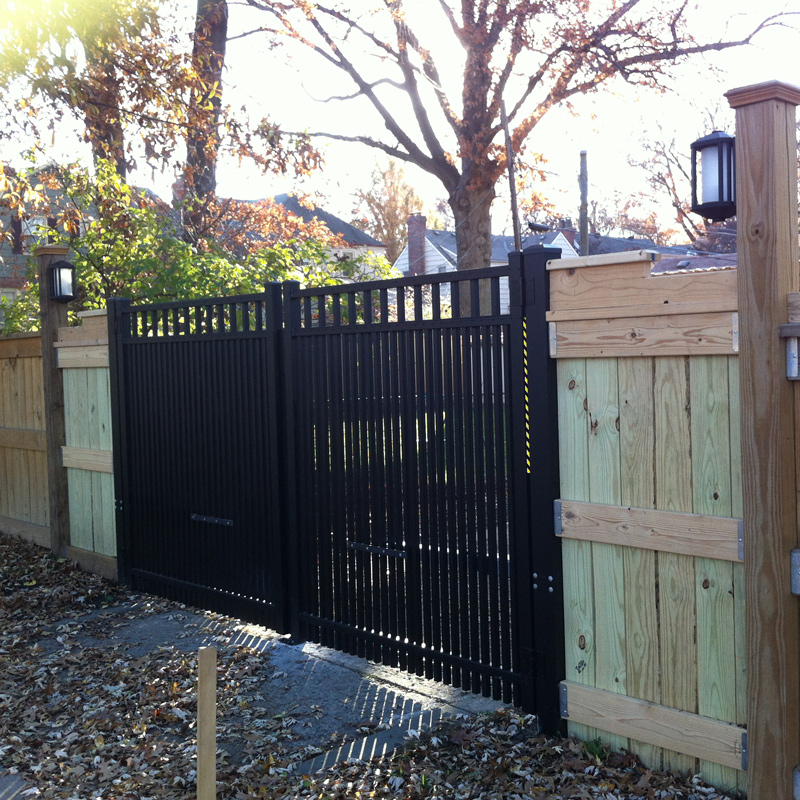
Not only is there a fence design for everyone, but there is a fence design for every property. From family homes and apartment buildings to industrial centers, schools and parking lots, aluminum fencing can be designed to handle it all.
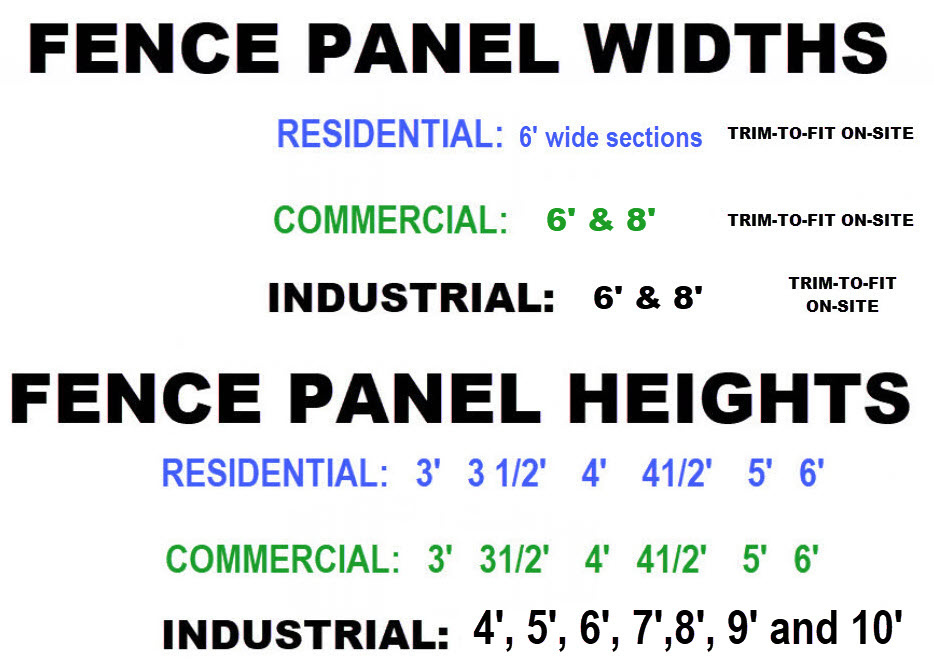
Small orders of 3 fence panels or less (6′ wide only, no rings) ship unassembled to obtain a much, much lower shipping fee. Easy on-site assembly.
Ships to your home anywhere in the USA. 20% more aluminum than other brands with 8 metal ribs inside every horizontal rail. Trim-to-fit panel width, on-site, with any metal blade saw. Do-It-Yourself Installation. No on-site welding required. Never Repaint—we guarantee it!
Use POSTS to connect fence panels to each other. use mounts for direct structure connections without posts. Register online and save your shopping carts. For 8 foot wide sections, see: commercial aluminum fencing.
GreatFence.com carries extremely heavy and durable aluminum fencing and gates with high tensile strength. Tensile strength is a measurement of the force required to pull something, such as a structural beam, to the point where it breaks. The tensile strength of a material is the maximum amount of tensile stress that it can take before failure or breaking. Additionally, unlike most brands in the United States who use hollow rails or 2-rib rails, GreatFence.com fabricates a remarkable 8 metal support ribs inside every rail on every fence section and gate.
Unlike wood fencing, which requires ongoing maintenance, our products will last for decades with little or no maintenance. The harsh elements of summer, winter and humid weather can warp, bend and even rot wood fencing. The same holds true for composite fencing which, because it has some wood in it, can expand, contract, warp and bend in extreme weather conditions. Not so, with our metal, picket barriers which are protected by a premium 2604-5 powder coat paint finish. Additionally, we warranty the materials and paint finish for life against blistering, peeling and rusting.
Before installing, be sure that all potential underground utility lines have been identified and marked. If you need assistance with this, call 811 anywhere in the United States. You should also be aware of your property lines. If you don’t have a survey of your property, we recommend having your property surveyed before installing a fence. You are ultimately liable for its location.
Unpack your boxes and crosscheck your fence sections and posts and gates with your packing list, invoice or receipt. If you’re using 2″ x 2″ posts, separate your thicker gate posts from your other fence posts. If you have medium or steep slopes, identify and mark these sections to be used for those areas. You can tell the difference between standard, rackable and heavy rackable panels by looking closely at the fence section where the picket goes through the horizontal rail. Rackable will have wider holes for the pickets to go through. Heavy Rackable panels will have very large holes in the rails for maximum pivoting aka racking on-site.
Get some wood or metal stakes and hammer them around your property where you want your new fence barrier to go. Then, run a string along the entire fence line by tying it to each stake and make sure it is taut. Use the on-center spacing chart to mark the location of your post holes but don’t drill your holes yet. Some accessories, like mounts for stair stepping and swivel mounts for angles, may change the length of a panel, so always double check measurements. If you run into spacing issues, don’t worry. Any fence section can be cut or trimmed on-site to fit. You’ll want to place all your posts 1/4 to 1/2 inch from the taut string, but stay consistent.
Now dig 6 inch or 8 inch wide holes 2 foot to 3 foot deep. Always check your local codes for any post depth requirements. Set your first post in the hole. This is typically a starting post like a post next to your home. You should not dig all of your holes in advance, it’s actually easier to dig them as you go; a few holes at a time. With your post plumb, you can now fill the post hole with concrete and this will further support the post. Make sure your posts remain perfectly set and level until the concrete dries.
Start with your first section. Attach one section by sliding the notched rail into the punched holes of the post. Then put a self tapping screw into the pre-drilled pilot hole securely setting your panel to post connection. Pour your concrete into the hole. Always secure one section and one post at a time. Pour the concrete in up to a couple of inches below grade. Then, place some dirt on top of the hole and pack it really, really tight. Then, place a 2″ wood block under it to hold it consistent just above the ground level. You can use wood or composite for this. As you continue to install your fence sections, you may need to go back and adjust the installed posts as they may shift until the concrete has dried.
Corner posts will require you to make a 3/4″ notch in the rails of both sections so that both rails can be inserted and set in making your 90 degree turn. If you have a gate at a corner, you can use a punched gate post to act as your corner post by facing the punched holes 90 degrees away from the line of the gate to accept the first section on this new run. So, punched gate posts can ‘act’ as a corner post or as a line post. After all the fencing has been installed and the cement has dried, install the post caps snapping them into place. They do not require screws. A rubber mallet can be used but is not required. Be careful.
Now, you’re ready to install your gates. All gate widths include and accommodate the spacing for the hinges and lock. So, for example, a 36 inch wide gate will fit between two gate posts 36 inches apart from inside to inside of the two gate posts. If you have a ten foot wide double swing gate, then install your posts 120 inches apart from inside to inside of both gate posts. Make sure that you have enough room to fully open the gate without any type of obstruction. Next, you need to decide the direction of the swing and which gate post to hinge off of and which gate post to latch off of. Standard Hinges and Tru-Close hinges are packaged separately and you get to decide on-site which way the gate swings and which gate post to swing off of.
Install your gate hinges first. Center the gate in the opening between both gate posts and put only one screw in each hinge. This will allow for adjustment. If you’re using our spring loaded, tru-close hinges, adjust the tension in the hinges for proper tension. Then install your gate lock. Instructions for both are included in the packaging and they are also available on this website. See: Installation. If the gate swings properly, put the remaining screws in the hinges. And, once the cement is fully dried, you can now use your new gate.
Our fence panels, posts and gates will not match with products previously ordered prior to August 2010.
*Add 2 additional weeks for any order with the color white or khaki Satin. Written and/or verbal lead times for fabrication are “estimated” lead times and subject to change and are not exact. Furthermore, shipping times can vary too; especially if you live in a remote area of the United States. GreatFence.com, Inc. is not responsible for any costs related to the re-scheduling of any installer for any reason. It is always best to wait until you’ve received and inspected all of your products before hiring / scheduling any 3rd party for installation. Better yet, install our products yourself and save!
