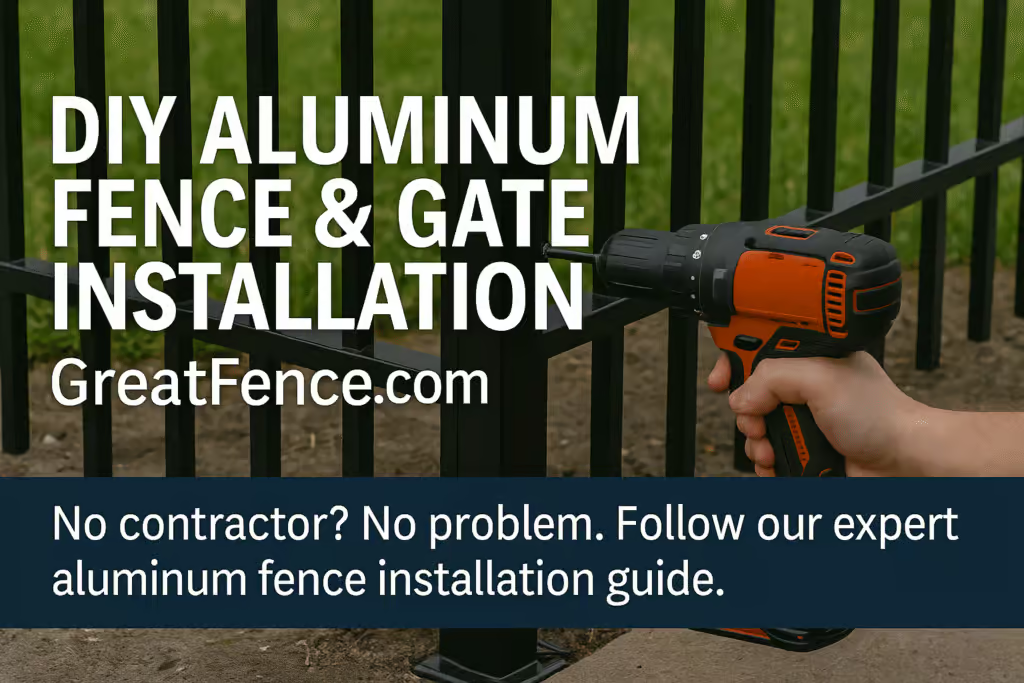
Top Tips For A Hassle-Free DIY Aluminum Fence Installation
As the cost of living crisis continues to take hold, we are all looking for ways to save money. One of the many benefits of aluminum fencing is that you can install it yourself, allowing you to save on costly labor. Although installing an aluminum fence by yourself may sound like a daunting task, it is quite achievable. As with so many things in life, the success of the project lies in preparation. Always be sure to carry out thorough preparation work in order to get the best results. Here are four tips you can follow to make your life easier before installing your own aluminum fencing.
Map It Out
A simple ball of string could be your best friend when it comes to a DIY fencing project. A ball of string is inexpensive and most of us have one lying around the house somewhere, and it could save you money and time in the long run. Use your ball of string to lay out the project before you begin work. Planning it out in string will allow you to see your fence plans properly and ensure nothing is in your way and there are no obstacles you had not considered. You can even use small stakes to keep the string in place during the fence build so you can be sure you are sticking to your planned outline.
X Marks The Spot
Once your string is laid out, you need to identify where your fence poles will be. Use a tape measure to plan out exactly where your gate and fence posts will go. The most effective way to mark out where the fence posts will go is to spray paint an X on the ground where you will need to cut. Make sure you measure out where the posts will go several times to avoid mistakes.
Do Your Checks
Before you cut any earth, it is essential to check for any underground cables or pipes. Cutting through one of these can be a very costly and time-consuming mistake, in addition to being highly dangerous not just for you but for your neighbors as well. Finding out if there are any utility lines in the area you will be digging is simple. Just call 811, the national call-before-you-dig phone number, a few business days before you want to start work. The experts at 811 will come and mark the locations of any buried utilities with paint or flags so you do not hit them.
Gate Posts First
Once all the checks are done, digging can begin. When installing your own DIY aluminum fence, you must always start with the gate posts. These posts are pre-cut and pre-punched, and once they are in place, you can work off of them for your other panels and posts. The gate posts act as a template from which to work the rest of your DIY fence installation.
Following these tips before beginning work on your DIY aluminum fencing will help the process flow more smoothly. It is estimated that aluminum fence installation usually takes around one to two days to complete, depending on the size of the project. Be sure to check what tools you will need before you start. You might also want to consider calling in a friend to help.
